
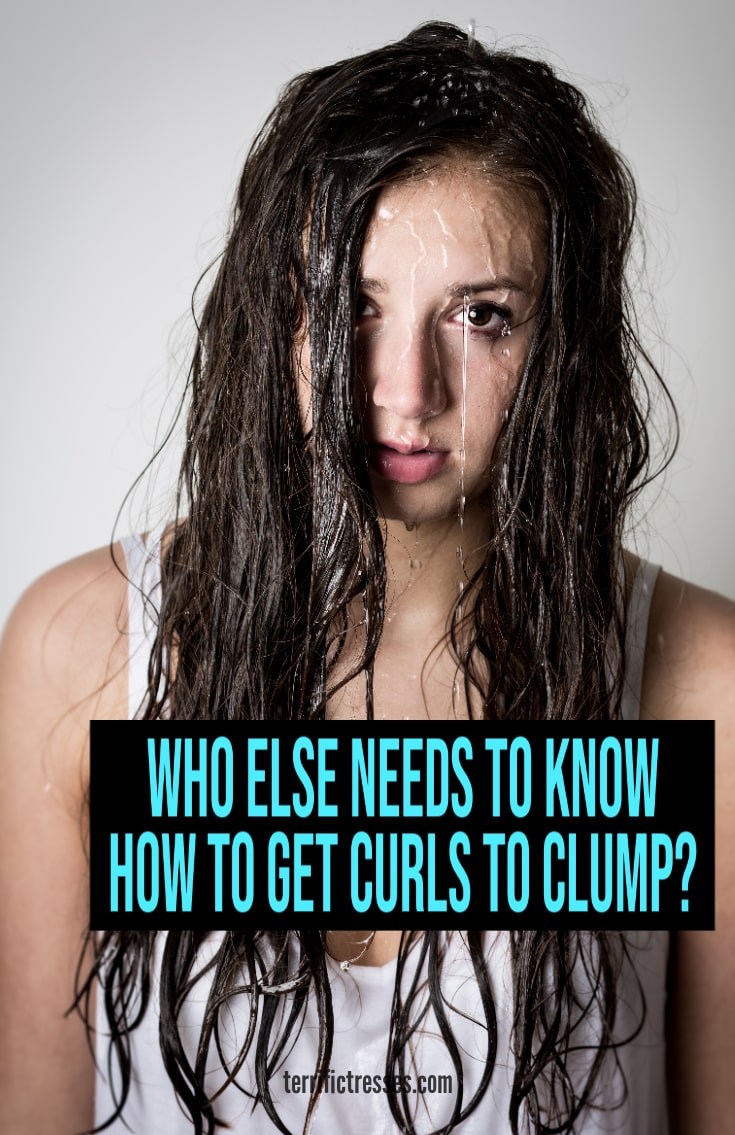
Need tighter curls that ooze definition?
Tired of stringy curls that lack oomph and pizzaz?
Ever tried curl clumping? If you want fatter, chunkier curls then you want clumps. As they tend to give you thicker, more defined curls

Okay so maybe you’ve heard of curl clumps but aren’t sure what they are.
Basically it’s a routine that combines the right products with soaking wet hair. That is then scrunched to encourage clumping.
Many have to resort to a time consuming approaching involving a Denman brush to help things along.
This method is different.
It’s a super simple technique.
It doesn’t involved either a boatload of products or a massive effort wielding a brush.
Yet you’ll still get the fat curls you crave.
To get the full 411 be sure to watch the video about half way towards the end.
But first let’s back up and start with the basics.

What Are Clumps, Exactly?
Clumps are simply curls that band together to form a clump of hair. The bigger the clumps the bigger the curls. And who doesn’t want big curls?
Which is why you’ll see curly girls complaining they can’t get their hair to do that or all they get are puny ones.
Plus know what else many get when their curls stick together? Less frizz! For many that alone is reason enough to embrace this technique.
The why behind that less frizz is simple really. Clumped strands fall into bigger curl patterns. Fewer more sizeable ones means you’ll have bigger curls that won’t look as frizzy.
So just in case you were wondering “Why do I want clumps?” that’s as good a reason to any, don’t you think?
Luckily there are things you can do to bump up how much clumping you get. And if this doesn’t satisfy we’ve got 41 tips that reveal how to get bigger clumps if you’re interested.
Just click that link and before you know it you’ll be hip deep in those juicy tips. 🙂
But for now let’s start by answering a common question…
Why Aren’t My Curls Clumping?
For most the recipe for clumpy hair is simple enough. It consists of water, leave in, gel, and technique.
But there are many ways you can go astray leaving you with stringy curls.
Let’s look at three must dos:
- Get your hair wringing wet
- Use the right products
- Make sure to distribute the products evenly
But by far the biggest reason for lack of success may come down to water. As in you’re not super soaking your curls.

Plus given the importance of hydration the last thing you want is curls that are dryer than they need to be.
So skipping the deep conditioning part of your regular curly hair routine is seldom smart. Since that alone done once a week can eliminate a ton of your hair problems.
Then there’s what products you use and when.
Recognize some can be too heavy for thin or fine curls. Especially that fine hair part. And despite cutting back on the amount used.
Also some don’t get the product evenly distributed throughout their curls. Failure to do so can be another cause of clumping problems.
Another tip? For some making sure the crown gets its fair share of product love.
Of course technique is the trickiest one.
Like to rake or not to rake.
To scrunch or not to scrunch.
To spin your curls using a Denman brush or not.
Because as we’ve pointed out a gazillion times everyone’s hair is different. So even if you follow what a YouTuber does down to the letter you still may not get the same glorious results.
So anyone wondering “Why aren’t my curls clumping?” needs to appreciate all the moving parts here. And understand it may well take time and plenty of trial and error to get to the point where you can consistently clump-up.
Which is where the video coming up soon comes in. If nothing else it can give you a starting point.
Products That Aid Curl Clumping
Despite the drawbacks if you’re having trouble getting chunky curls maybe you could use a little help from a product or two. You know to get more predictable results?
One gel I’ve seen raved about over and over on Reddit and elsewhere is Kinky Curly Curling Custard. Many claim it is their Holy Grail.
Can’t say whether that will be case for you or not, but felt it was worth mentioning since so many feel it’s a game changer.
Others go the DIY route and make their own flaxseed gel.
Then there’s those who report their hair clumps better after a protein treatment. It’s likely not their imagination since some curls are known to keratin lovers.
Finally remember problems getting curls to clump often comes down more to improper technique rather than the product used.
So maybe you could say it’s one part product and two parts technique. Mix well. 🙂

Speaking of technique …
Q: Which Is Better Scrunching In the Product Of Raking It In?
For every person who swears scrunching encourages their clumps you’ll likely find another who swears at scrunching. Claiming it leaves with the stringy hair instead of thickness they seek.
Same for raking.
Tip: Just remember raking tends to split up clumps. So instead of fewer luscious ones you’ll have lots more tiny, sad, stringy looking ones.
Then there’s those who say they rake their product through dripping wet hair and then scrunch a little. Insisting that duo method gives them the best of both worlds?
Clearly this is a test and find out situation.
Everyone’s curls react differently.
So try stuff out.
Worst case you have less than fab curls for a day.
So what else is new? I’m guessing bad hair days are not exactly a novelty for any one with curls.
VIDEO: Simple Curl Clumping Method Means No More Stringy Curls
Now it’s a poorly kept secret that most claiming to have a successful clumping technique do one or two things or both. They either
- Use a ton of products
- Or they spend some serious quality time with a Denman brush to encourage luscious spirals
If you don’t have the time (or patience) for that in the morning maybe you’d appreciate a simple way to get your curls clumpified.
One that doesn’t require gobs of product.
Nor do you have to twirl your brush through every curl clump to create ringlets.
So here’s the 11 step tutorial for getting your curly or wavy strands to group together nicely in the shower. Leaving the stringy curls for someone else.
Step One: CLEANSE: Wash and condition/ or co-wash to cleanse your mane.
The good news is this approach doesn’t require you to change anything about your current cleansing routine.
The focus on clumping starts when you rinse the conditioner outta your hair.
Step 2: APPLY THE CONDITIONER to super wet hair – the amount of water ALWAYS has to be right.
Step 3: RAKING: Rake the conditioner in and detangle at the same time with your fingers. For some this is what helps things to shape up.
But not all agree. Some feel raking is bad as it just breaks up bigger clumps into smaller ones. So again, as with all things curly you’ll have to experiment and see how your curls react.
Step 4: SCRUNCH: She scrunches the conditioner into her hair. Even though some YouTubers don’t feel that scrunching does anything. Again your mileage may vary.
Now for the money step
Step 5: RINSE: For rinsing – lean your head forward to position your curls in front of your face. You want to let the water run gently over them while creating clumps with your fingertips.
This is just separating the hair into smaller sections of hair to encourage clumping. Nothing more.
Don’t be too quick to discount that letting your curls hang forward tip. Sometimes it’s the little things that make the biggest impact.
Step 6: TURN OFF THE SHOWER
Step 7: SQUEEZE out the excess water. Once the clumps have taken shape she’s positioned with her head tipped forward and water dripping from her hair.
To avoid diluting the gel she squeezes some of the water out of her hair.
Step 8: APPLY GEL: Using the praying hands technique she smooths the gel over her drenched locks. Taking care to not break up what’s developing. Using more gel to cover the back and top of her head to insure total gel coverage.
Now if you want to know about styling curly hair with gel we’ve got another article that features more from this YouTuber. So for more gelling ideas be sure to click over and get the straight skinny.
Step 9: MODIFIED SQUISH TO CONDISH: She cups the dripping hair in her hands and squeezes while lifting the strands up towards her roots. This insures the gel and water are mixed together well. This also helps to distribute gel into the crown area.
I say “modified” because she’s not pulsating the squeezing like you would expect with your typical squish to condish routine.
Think of it like a kinder gentler squish to condish.
Step 10: ROUGH DRY using an old tee or microfiber towel. You want to scoop up the clumps and squeeze the excess water out of them.
Step 11: AIR DRY OR DIFFUSE: She hovers the diffuser around her hair.
She does not rake her fingers through her curls. That’s because as her curls start to dry they will naturally do their thing and separate into smaller sections.
Now if your diffusing process might could use some help we’ve got you covered. Read our take on the one of the best ways to dry curls – pixie curl diffusing.
Just click that that link and in no time you’ll know how to minimize curl movement, frizz, while maximizing definition.
She doesn’t use enough gel to get a cast. But if you do, simply SOTC using a tee or microfiber towel. And no worries. Shouldn’t do anything to definition.
Tip: Finger coiling is way to make the curls around your face look awesome.

If you liked this “how to” maybe you’d like to follow our boards on Pinterest. That way you’ll get a steady stream of helpfulness your hair can benefit from.
Leave a Reply